Fan mods for the MikroTik CRS312-4C+8XG Cloud Router Switch are quite popular, generally this is just swapping out the stock 40mm fans for Noctua 40mm fans. However, these fans are quite expensive as you need 4, and my understanding is that although they are much quieter than the stock fans, they are still a bit noisy.
The simple fact is that the smaller fan, the faster it must spin to push the same amount of air as a larger fan. And the faster it must spin, the noisier it will be. So the solution to get the switch as quiet as possible is to fit fans as large as possible.
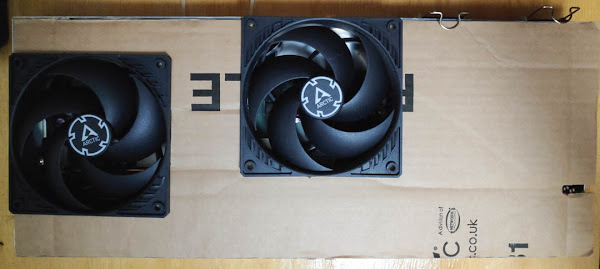
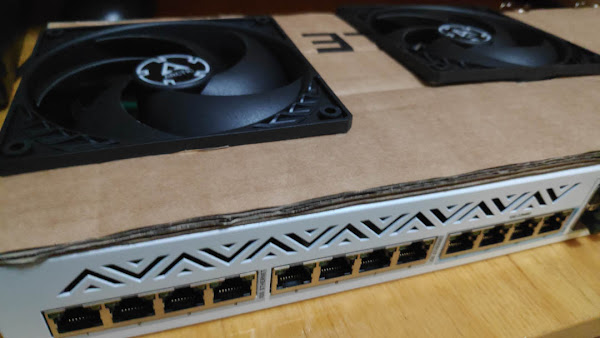
If you want to rack mount the switch with something else directly above it, then unfortunately you can't do much better than the 40mm fans. But if you have some space around the switch, you can remove the lid and fit a couple of 120mm fans to keep it cool.
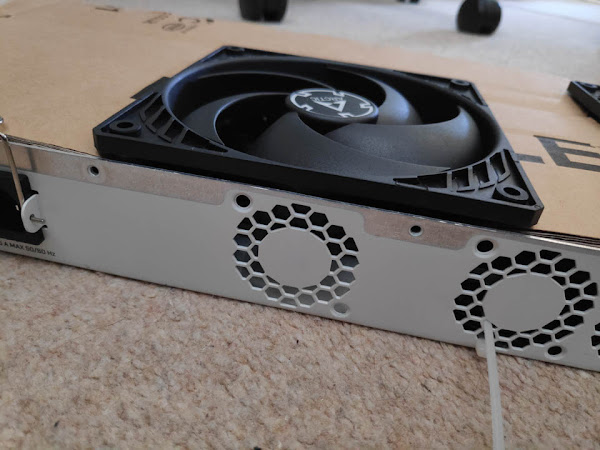
For my mod I just used a piece of corrugated cardboard as the new lid, so my mod is fully reversible. If you aren't averse to cutting the metal lid, you could possibly find some low profile fans that you could screw into the metal lid - my standard size fans have to stick out slightly above the lid of the switch.
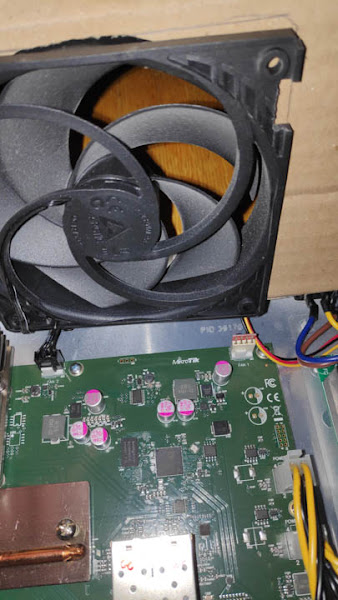
Ideally you'd also use fans in a pull orientation, to suck in air past the components and then expell the hot air. I think this should work slightly better than my configuration of push orientation, blowing cool air onto the components. It's not just a case of flipping the fan to change the orientation as you want the 'guard' piece of the fan shroud pointing down against the components so the fan can rest on them without them sticking up into the fan blades or rubbing against the hub. But reverse fans aren't that common.
The top / left fan has space around it, and is just kept in place by the cardboard lid.
The second / middle fan you can wedge between the SPF port shielding and the back of the switch. On the right you will need to remove part of the fan shround to allow it to fit down around the 4 pin power connector.
When inserting the fan you will also need to ensure you allow the power cables to run through the shroud rather than trapping them below or above the fan.
Because we're only fitting 2 fans when the switch normally has 4 fans, you'll need to unplug all four 40mm fans if you want the switch to be quiet. This will then make the switch think the two unplugged fans have died and show an error light on the front. If you find this annoying (I do), you can fit fan simulators on the two unused fan headers.
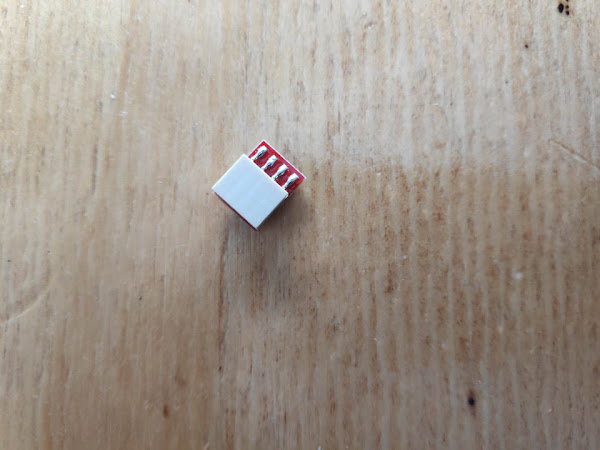
You'll need to make sure you get very low profile ones as the headers are below where the 120mm fans sit. Taller fan simulators would collide with the fan blades. I originally purchased two of the small fan simulators pictured below, but these have since both died and have now been replaced by ones that have a short flexible lead between the header plug and the simulator PCB.
The fan cables I just cable tied to the holes where the previous small fans were located.
The 120mm fans only have to spin at a very low speed to keep the switch cool enough. (The fan simulators show a very high RPM).

